I’ve always wanted to find a way of scanning documents in class, such as learner’s written work.
I also teach in companies, so the ability to scan docs in situ is something that would really help my workflow.
And having documents scanned might stop my
WHERE IS THAT PIECE OF PAPER!!! freakouts.
Previously this was impossible.
But with a Doxie – I can do it!
What is a Doxie?
A doxie is a ultra-portable mobile scanner, designed to scan A4 or smaller documents.
And it’s light. Perfect for teachers like me on the move.
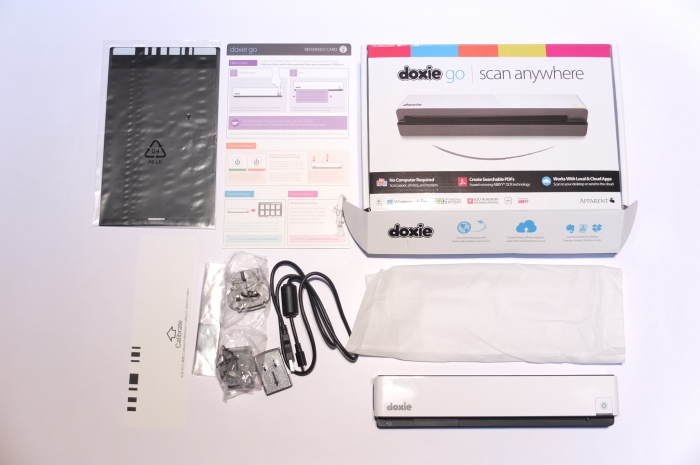
Below is my ‘doxie go’ unpacked. Besides instructions, you get the doxie mobile scanner itself, a USB cable, power adapter/ worldwide plugs, a photo sleeve (to scan photos and smaller documents), a cleaning tool and a calibration sheet.
Unlike other scanners, you don’t need to have the scanner connected to your computer to use it – the doxie has its own internal memory.
How does it work?
After you’ve charged up the battery (mine actually came charged up and working straight out of the box) there are three stages – scanning, importing and downloading.
Scanning is simple – first turn on the scanner and calibrate it. Then you feed your document into the scanner and watch it sail through!
The default scan setting is 300 dpi but you can increase this to 600 just by tapping on the power switch, which changes from green to orange.
You can also scan onto an SD card or a USB stick (this might be slightly quicker).
With importing you need to make sure you have the Doxie software on your computer – for Mac or for Windows. Just download for free from the Doxie website. Then connecting your doxie to your computer simply import your scans into the Doxie interface.
With downloading you just download your scans from the Doxie interface in a file format of your choice: JPEG, PDF or PNG.
 What I really like about the Doxie software is how it manages to get your scans OUT as quickly and efficiently as possible. I can download my scans in a variety of formats, and I can even ‘staple’ pages together which is really useful. So even though I have to scan the pages of a document separately I can assemble them back together through ‘stapling’.
What is really useful is that I can upload docs directly to a cloud service such as Dropbox or Google Drive (see above).
It’s really convenient.
How did you use it in class?
Last week I co-created a new syllabus with my learners and they made individual learning plans.
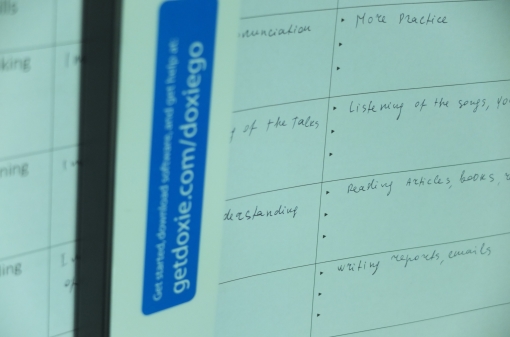
When they had finished they scanned their learning plans into the Doxie. Then I connected the scanner to my laptop, imported them into the Doxie interface, stapled a few pages together and downloaded them as pdf’s.
I also sent them straight to Dropbox. So I now have a shared class Dropbox file with all their learning plans there.
It took no time at all.
When I work with computer developers – such as this group – the one question I’m always asked is ‘Does it work with Linux?’. The answer is a qualified ‘yes’.
There’s no actual software provided by Doxie for Linux/ Ubuntu, but it is possible to use it with Linux systems – like this user.
Who is this product for?
I can see this product getting a lot of use from ordinary classroom teachers, or teachers/trainers ‘on the move’ like me. Especially for its convenience and ease-of-use.
I think it will be particularly useful for teaching email writing where you can scan learner’s work quickly and highlight errors with software such as Adobe Acrobat.
This would transform individual writing tasks into group learning activities.
Sound good? Check out the Doxie product range here.
Conclusion
This is the second in a series of posts on ‘Decentralised tech: tools that empower’.
Although I’m tied in to Doxie’s proprietary software* the gains and convenience of being able to scan in class, download pdf’s and upload to Dropbox cancel out any negatives for me (though shipping with a case would be nice…)
So I give the doxie top marks.
More #decent tech soon.
paul
*You can, so I’ve read, just take the bare scans straight off the doxie as JPEGS without using the Doxie software


